Learn How to Create Apple ID for Free in iPhone 6 plus
If you have never used an Apple product before, you will have to create an Apple ID the first time you get an iPhone in order to set it up properly. If you own, or owned, an Apple computer, iPad or an iPhone before, you already have an Apple ID, and can use it to set up your new iPhone. If you don’t have one, you can easily create on, and we will help you with the process by providing detailed instructions. The processes shouldn’t take long and will not cause difficulty.
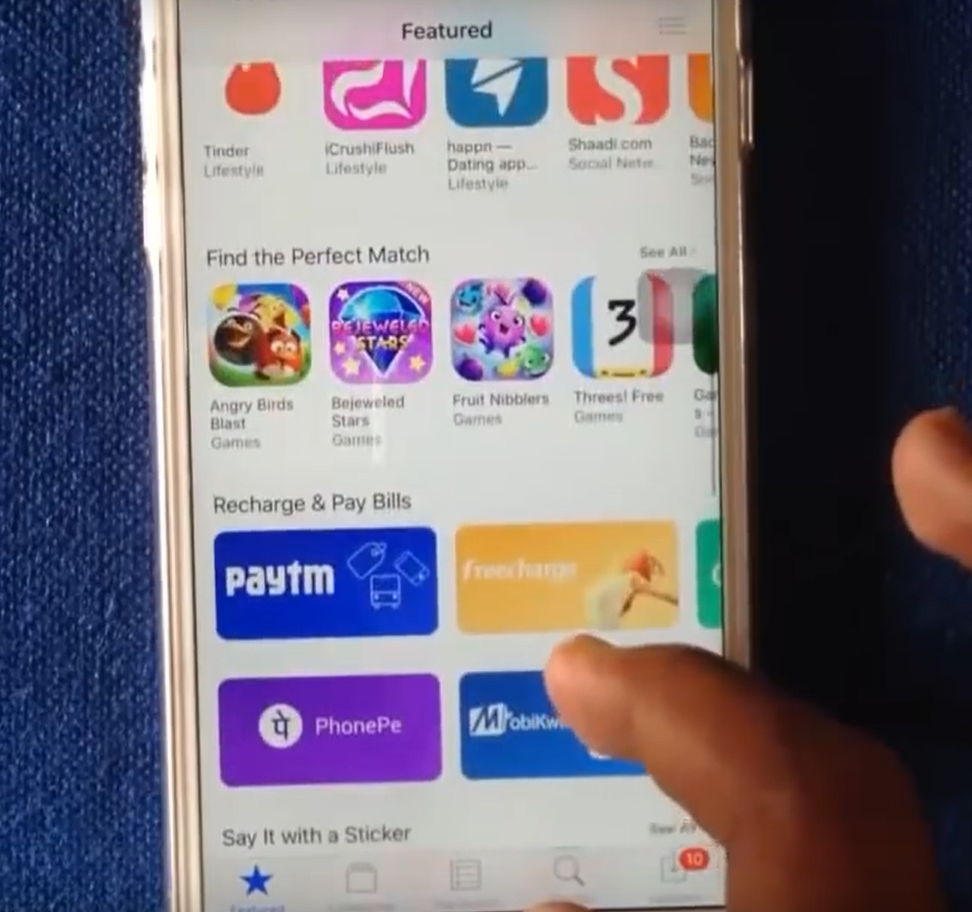
1. Open the App store and press on any app that you can download.
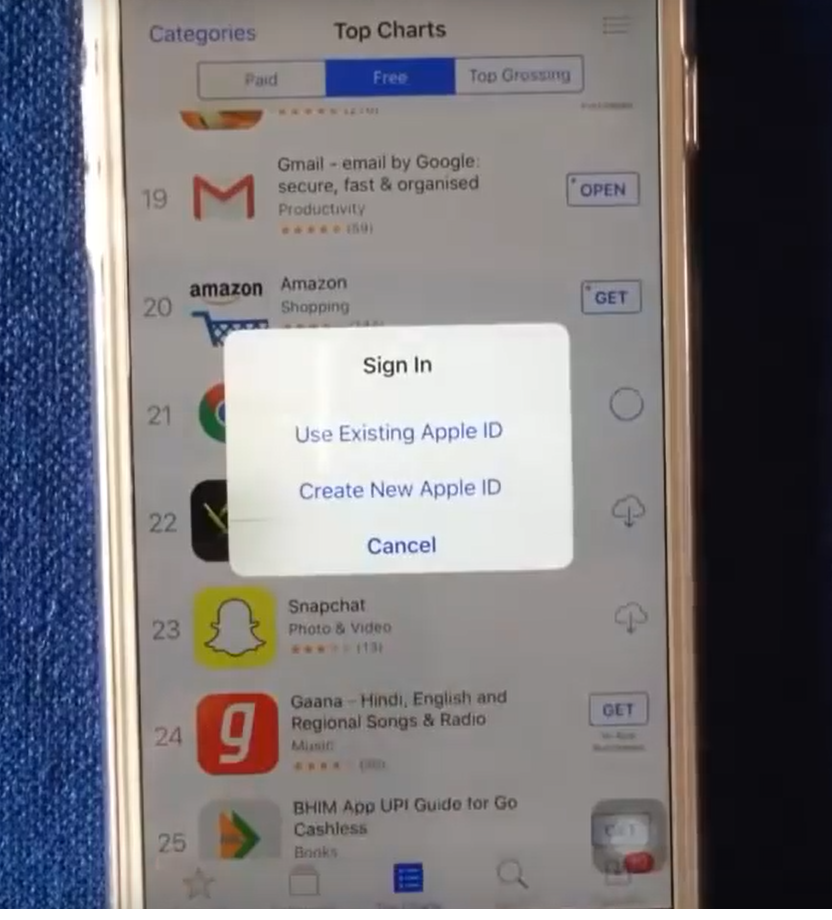
2. If no Apple ID is set up on the iPhone, you will be given two options, to “Use Existing Apple ID” and to “Create New Apple ID“. Press on the latter.
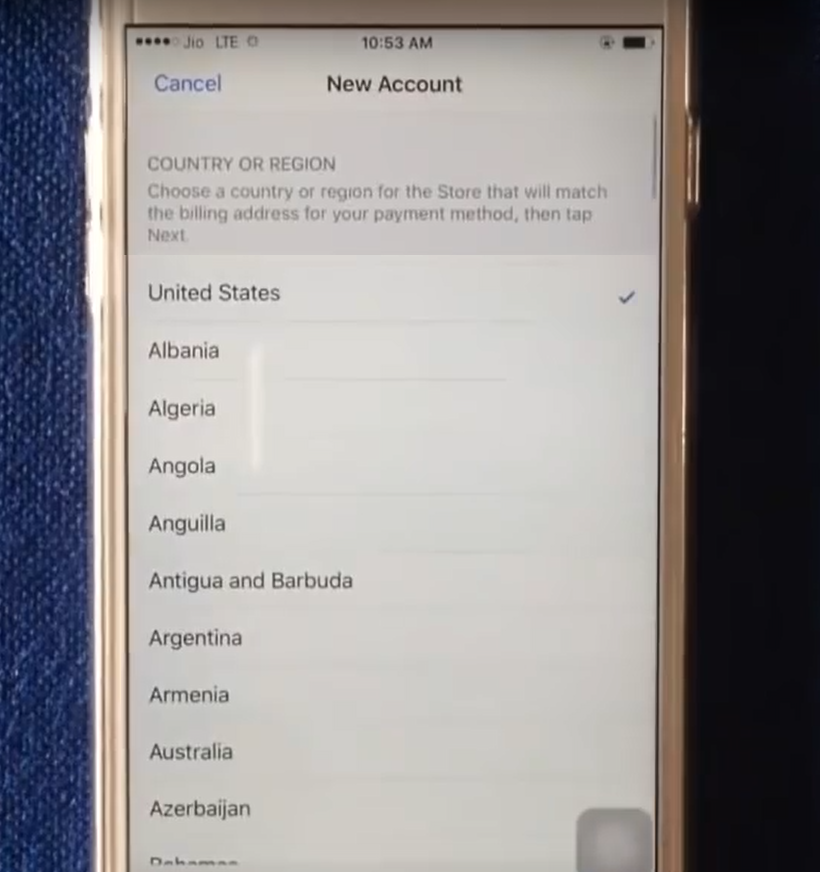
3. The process of creating an Apple ID will begin with you selecting your country. Select it and press Next.
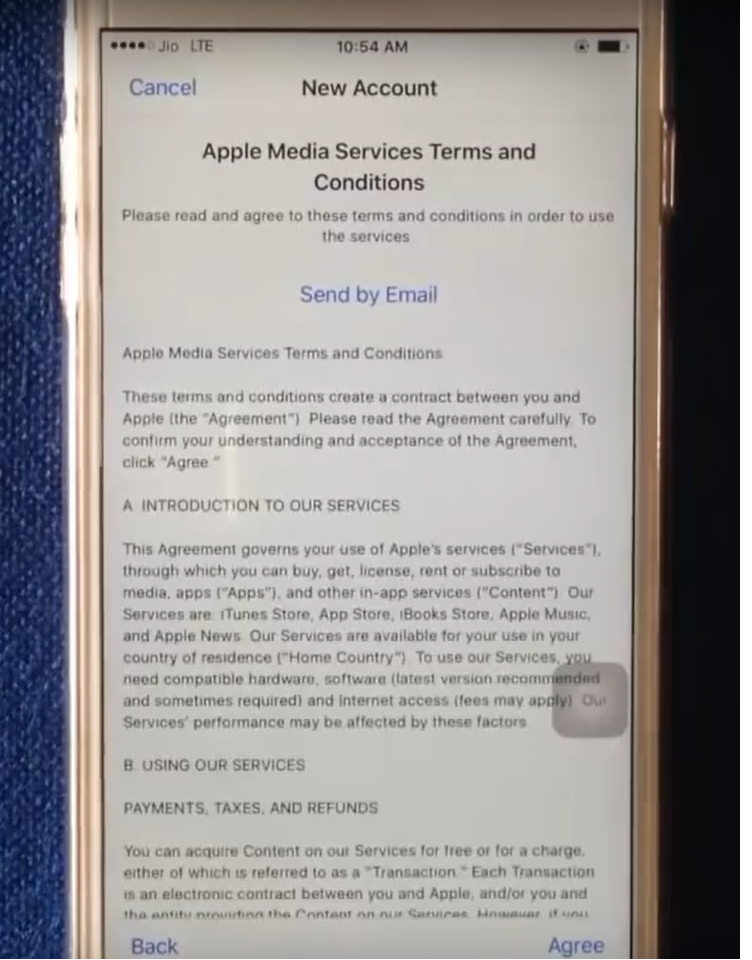
4. You will be presented with Apple Terms and Conditions, read them, and press Agree.
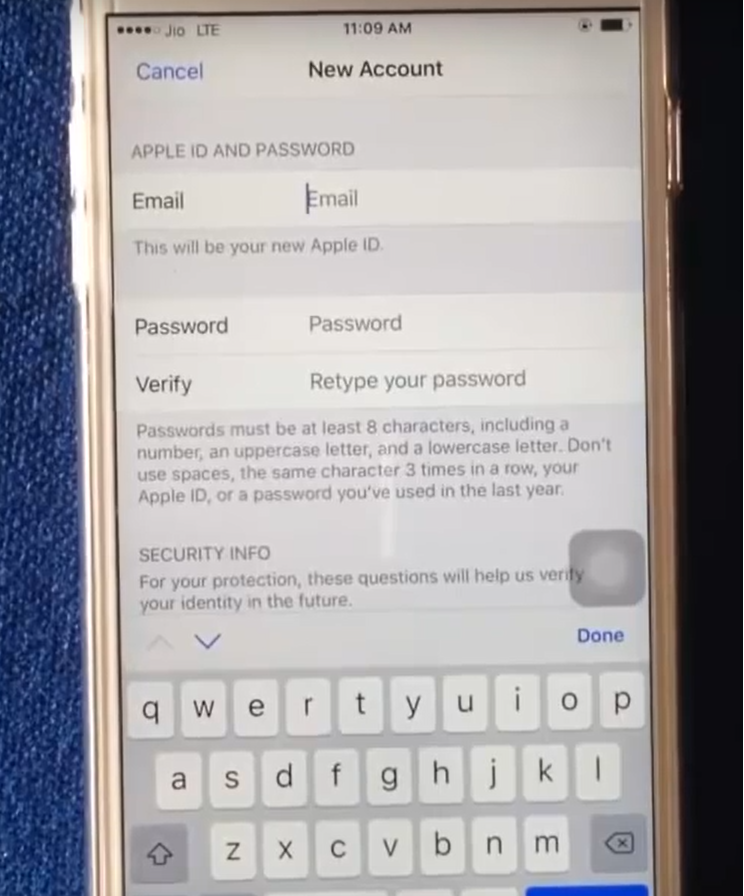
5. Type in your email, which will be your Apple ID. Below, you will be asked to create a password. Note that a strong password is crucial. Passwords like ‘password’, ‘qwerty’ ‘12345’ take seconds to guess and your Apple account could hacked in no time. Thus, make sure you password is made up of random combinations of upper and lower case letters, as well as numbers. Do not use actual words, previously used passwords or anything that could be associated to you, such as date of birth. The more complicated the password, the better. Type in the password again to verify it.
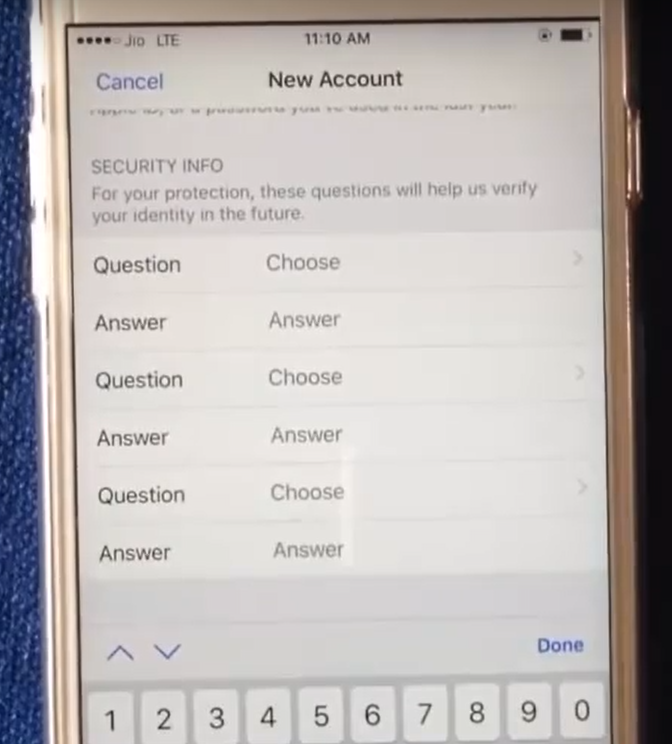
6. Next, you will have to choose a couple of questions and answers so that Apple can confirm your identity in case you’re ever locked out of your account. Select the questions from the lists and write the answers. Make it so that answers are not obvious and only you know them.
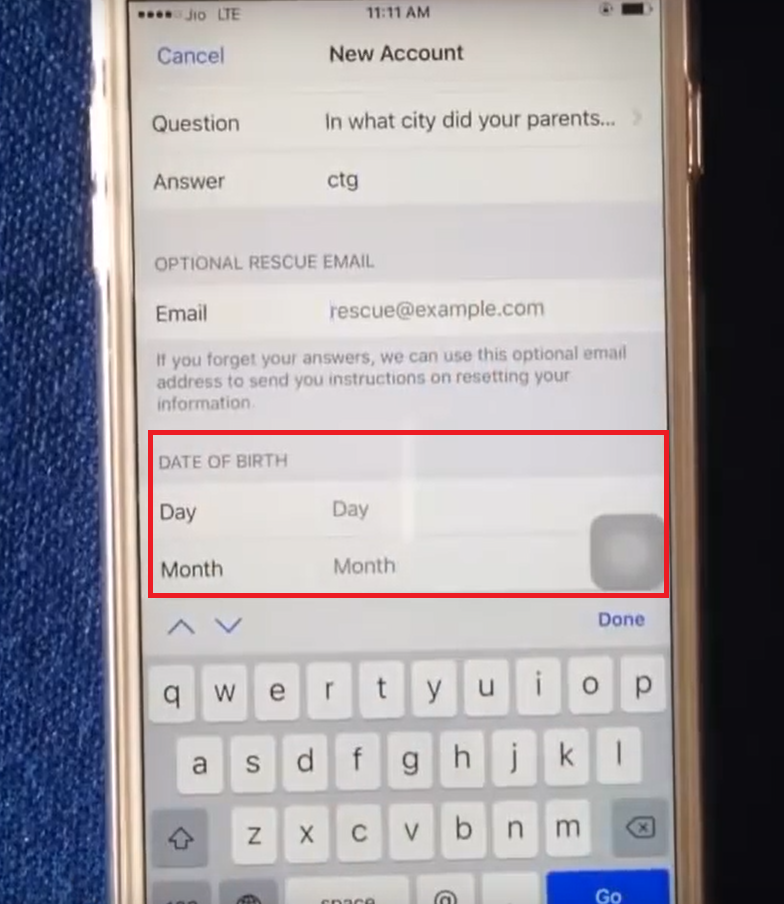
7. (Optional) You can provide a rescue email so that Apple can send you instructions in case you’re locked out of your account and don’t remember the security questions/answers.
8. Next is Data of Birth. Select the date. Press Next.
9. (Optional) You are asked to provide your Billing Information. If you decide to do so, type in the required information and press Next. If you don’t want to give the information, select None and press Next. Note that if you provide Apple with your Billing Information, you will be able to buy from the App store, iTunes, iBooks, etc., by simply pressing ‘Purchase’.
10. A verification email will be sent to the email you provided.
11. Open your emails, find the verification email and press on the link provided in it.
12. The link will open a website where you have to put in your email address and Apple ID password. Press Continue.
13. If you type in the correct information, your account will be verified and your Apple ID will be all set up.
You can use the ID to log into various services, such as iCloud.
what is postcode?