Windows 8 Repair Tool
When you use Windows 8, it’s not unusual to encounter some kind of issue. If you find that you are unable to boot Windows 8 as usual, the Automatic Repair tool might come in handy. The tool comes with Windows, thus there will be no need to download and install it. It will scan various settings, configuration options, system files, etc. If it is able to diagnose issues, it will fix them.
Follow the below instructions to launch the Windows 8 Repair Tool.
- Open the Search field via Start.
- Change Everywhere to Settings, and type Advanced.
- From the results, choose Advanced start-up options.
- Scroll down until you see Advanced start-up. Press Restart Now.
- Advanced Startup will automatically load after your computer restarts.
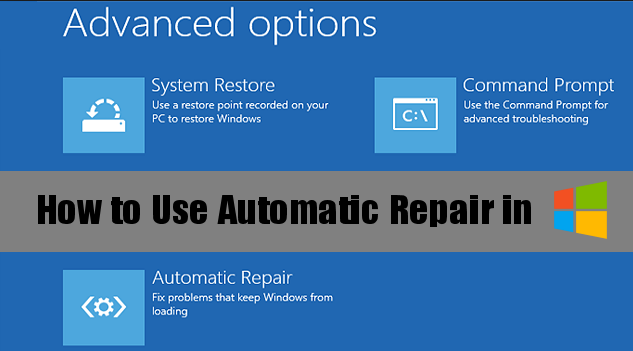
- Select Troubleshoot, then Advanced options and finally, Automatic Repair.
- As your computer restarts again, a Windows is preparing Automatic Repair message will pop up.
- Select the account with Administrator rights, enter the password (if necessary) and press Continue.
- The Windows 8 Repair Tool will then begin diagnosing the problems. It can take longer than you expect, and your computer may restart.
- When the process is complete, you will get one of two messages. If it was able to fix the issue, the message will say so, if not, it will say
Automatic Repair couldn’t repair your PC.
- If the problem persists, try other repair options by going to Advanced options -> Troubleshoot -> Advanced options.
It’s not out of the realms of possibility that what you are dealing with is not an issue with Windows itself, but rather something to do with malware. This is why it’s important that you have anti-malware active on your computer. If a threat was to enter your device, the security program would detect and neutralize it. Thus if using the Windows 8 Repair Tool did not solve the problem, try using anti-malware software.