Omniboxes Removal Tips
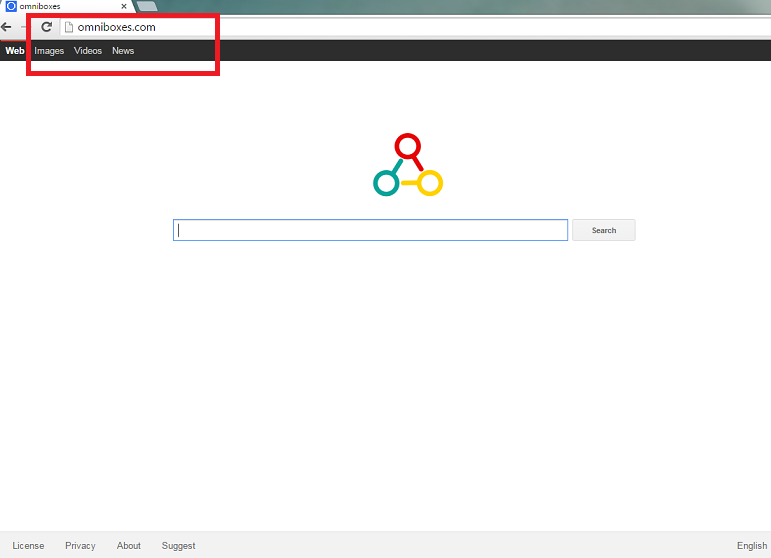
Omniboxes is a browser hijacker developed by SuperNet Technology Co. Limited and compatible with Internet Explorer, Google Chrome, and Mozilla Firefox. This intruder is identical to other, well known hijackers like webssearches.com, mystartsearch.com, isearch.omiga-plus.com, and Sweet-page.com. Once it enters your system, this application will change your browsing settings and also will modify your Target line.
Furthermore, the hijacker will install two browser extensions to Mozilla Firefox (Fast Start and Search Enginer). If you notice this software in your computer, bear in mind that it can be very dangerous and take care of Omniboxes removal at once.
What does Omniboxes do?
Omniboxes usually enters a new computer using a deceptive marketing method called ‘bundling’. Since users rarely follow freeware installation procedures, this method is very successful. If you wish to protect your computer from these infiltrations, we advise to always choose Advanced or Custom installation option and read End User License Agreement. In this document, all the additional software is disclosed which allows you to deselect it. It is very important to stop this particular hijacker from entering your PC, since it often travels with Speed UP, VuuPC, RocketTab, and Pro PC Cleaner. Since all these applications are categorized as potentially undesirable, it means that after Omniboxes removal, you will need to get rid of them too.
We strongly recommend to delete Omniboxes as soon as possible and to recover your lost settings. Unfortunately, you will not be able to trust the provided search engine or home page, because both of them can expose you to malicious parties. Hijackers are known for their ability to infect users with malware and thus you need to get rid of Omniboxes. If you attempt to use the provided search tool, you risk clicking the infected link and getting routed to a malicious website. This would most likely lead to a serious infection. Do not delay and terminate Omniboxes right now.
Another reason to uninstall Omniboxes is the tracking it performs. Once it enters your computer, it will employ tracking cookies to gather as much of your data as possible. The information is mostly used for marketing purposes, but it is also shared with the third parties. To stop this unauthorized spread of your data, erase Omniboxes.
How to remove Omniboxes?
In order to get rid of Omniboxes, you need to choose between two possible options. If you wish to deal with this issue by yourself, you should follow the instructions on how to remove Omniboxes displayed below. Another choice is automatic Omniboxes removal. For that you will need to buy a legitimate anti-spyware and let it clean your PC. Such computer security software will not only eliminate the main threat to your computer’s safety, but will also safeguard your PC afterwards.
Modify your Target line
- Right-click the browser’s shortcut and move to Properties.
- Choose the Target line and delete everything after the quotation marks. Tap OK.
Delete Omniboxes
Windows 8
- Press the Windows key + X.
- Move to Control Panel.
- Click Uninstall a program.
- Uninstall Omniboxes.
Windows 7 and Vista
- Access the Start menu.
- Select Control Panel.
- Pick Uninstall a program.
- Select the unwanted application.
- Tap Uninstall to delete Omniboxes.
Windows XP
- Open the Start menu.
- Go to Control Panel.
- Click Add or Remove Programs.
- Pick the software your want to delete.
- Tap the Remove button.
Eliminate Omniboxes from your browsers
Internet Explorer
- Tap the Gear icon and pick Internet Options.
- Overwrite your home page in the General tab.
- Press the Gear icon and access Manage Add-ons.
- Go to Toolbars and Extensions and delete unwanted add-ons.
- In Search Providers, overwrite your search engine.
Mozilla Firefox
- Open the menu and select Options.
- Move to General tab and change/remove your home page.
- Choose Search tab and overwrite your provider.
- Tap the menu again and select Add-ons.
- Erase unwanted extensions.
Google Chrome
- Press menu and navigate to Settings.
- Tap Set pages and overwrite your home page.
- Under Search, select Manage search engine.
- Change/delete a search provider.
- Go to Extensions and uninstall useless add-ons.
Offers
Download Removal Toolto scan for OmniboxesUse our recommended removal tool to scan for Omniboxes. Trial version of provides detection of computer threats like Omniboxes and assists in its removal for FREE. You can delete detected registry entries, files and processes yourself or purchase a full version.
More information about SpyWarrior and Uninstall Instructions. Please review SpyWarrior EULA and Privacy Policy. SpyWarrior scanner is free. If it detects a malware, purchase its full version to remove it.

WiperSoft Review Details WiperSoft (www.wipersoft.com) is a security tool that provides real-time security from potential threats. Nowadays, many users tend to download free software from the Intern ...
Download|moreIs MacKeeper a virus? MacKeeper is not a virus, nor is it a scam. While there are various opinions about the program on the Internet, a lot of the people who so notoriously hate the program have neve ...
Download|moreWhile the creators of MalwareBytes anti-malware have not been in this business for long time, they make up for it with their enthusiastic approach. Statistic from such websites like CNET shows that th ...
Download|more

Site Disclaimer
2-remove-virus.com is not sponsored, owned, affiliated, or linked to malware developers or distributors that are referenced in this article. The article does not promote or endorse any type of malware. We aim at providing useful information that will help computer users to detect and eliminate the unwanted malicious programs from their computers. This can be done manually by following the instructions presented in the article or automatically by implementing the suggested anti-malware tools.
The article is only meant to be used for educational purposes. If you follow the instructions given in the article, you agree to be contracted by the disclaimer. We do not guarantee that the artcile will present you with a solution that removes the malign threats completely. Malware changes constantly, which is why, in some cases, it may be difficult to clean the computer fully by using only the manual removal instructions.